
This summer, I've been working on installing the wooden handrail along the tops of the steel railings I made for the green roof. It's been semi-slow going, though, because my attention has been pretty divided between getting soil and fabric pots set up with vegetables for the growing season, installing drip irrigation for all the container plants, dealing with the plumbing and washing machine issues we've had (more plumbing is in my future for this weekend, in fact - there's a water hammer and a shower faucet leak to solve), and babysitting our godson, Axel.
Oh, and I had a good meeting with a roofing guy about the parapet wall and roof hatch leak problems. He happens to be a Certified Green Roof Professional in addition to being an experienced roofer, and I had a great time chatting with him. Here's hoping all of that works out. I'll give you his name if it does.
But back to the railing project! As I wrote on the PHL page describing how I made the roof railings (found here or on the left hand side of the PHL web site), I bought a bunch of lumber reclaimed from the rubble of the Rockaway Beach Boardwalk after Super Storm Sandy by Sawkill Lumber. It's a mix of tropical hardwood species that do very well outdoors in the elements, so I won't have to worry about replacing it any time soon.
I started in April. The first step was to pull all of the old boardwalk nails out of the lumber. Alan from Sawkill told me that the "P" stamped on the heads of each nail stands for the NYC Parks Department.
Then, I had to work out the angle of the miters for the ends of the boards. I laid pieces out on the railing tops and marked the intersections where the boards meet to find the angles.
For cutting the miters, I could choose between two evils: climbing up and down the ladder and stairs between the basement and roof as I refined the fit of each piece, or I could use a hand saw. I chose the hand saw for most pieces and went downstairs to my electric compound miter saw for the cuts that needed to be done at precise-yet-unknown compound angles. That reminds me, I need to learn how to sharpen my handsaws.
And here are the first two pieces laid out.
As I worked my way along the railing, I discovered one spot in particular where one of the boards is sloping into the corner, and one is more or less level. That's a problem I'll have to figure out how to solve later.
And here's one of the uprights with the short boards roughed in.
Now I'm starting to see how the finished railing is going to look.
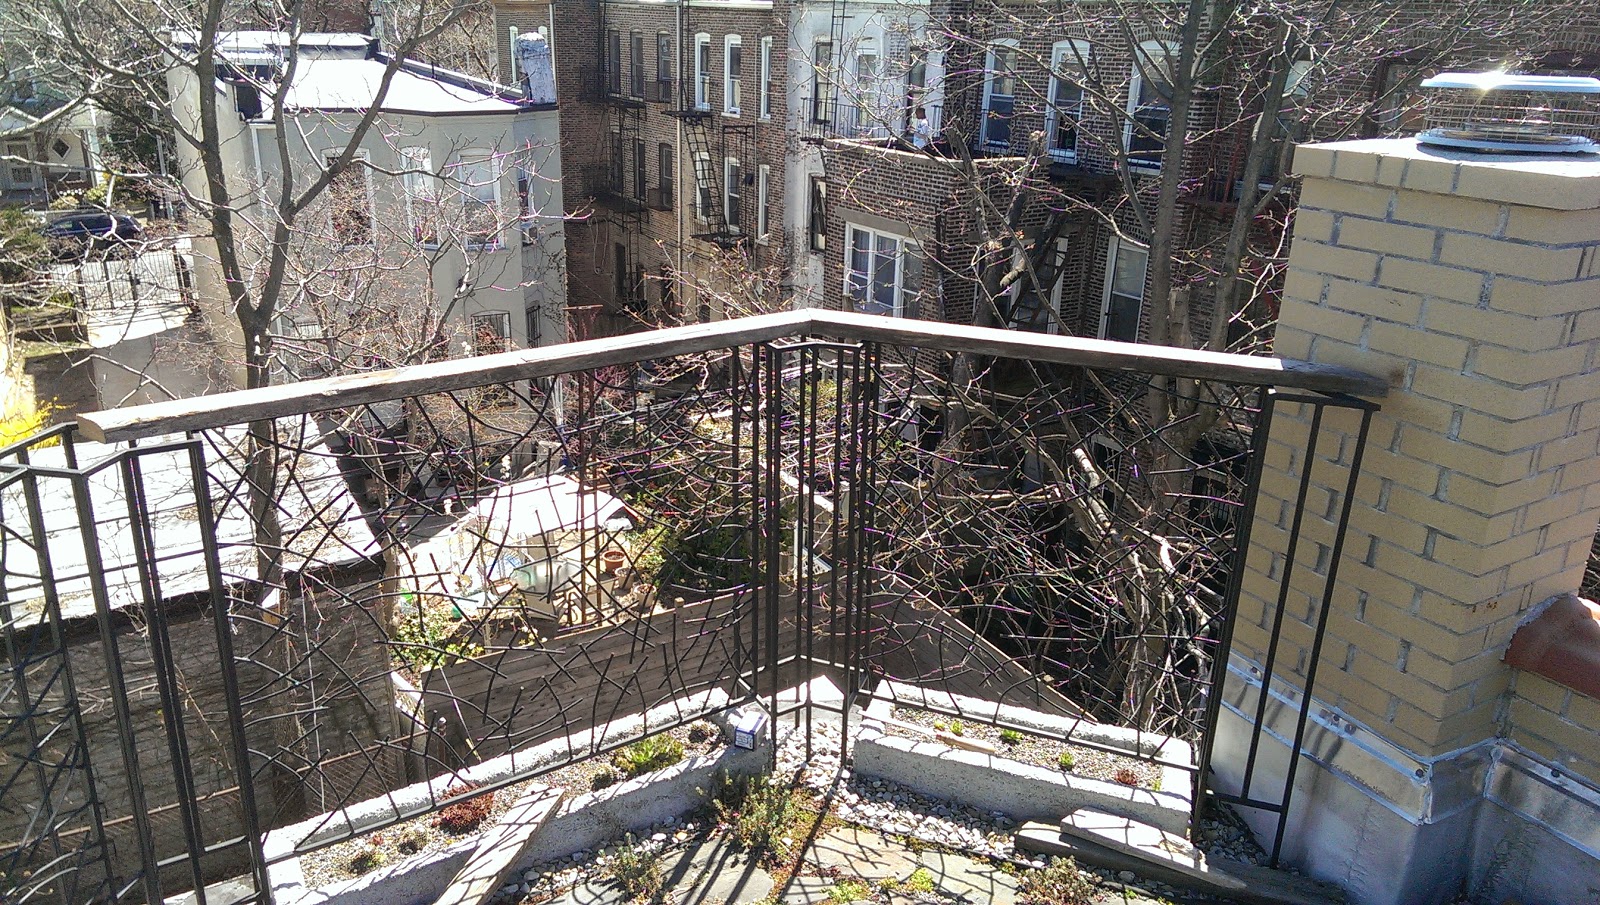
And a couple of wide shots of the whole back railing. FYI - I still haven't started on the front.
By the way, I attached the wood with self-tapping screws from the hardware store. I drilled holes through the steel slightly wider than the screws, and I ended up needing to drill pilot holes up through the railing lumber, because the self-tapping screws couldn't handle the hardwood. The whole thing was rather finicky and took longer than I had hoped. But it's nice to see the complete form of the steel and wood railing together for the first time.
I bought an Arbortech Turboplane for my grinder to do the shaping. I had been concerned it would dull quickly with this tropical hardwood, but I wrote to the manufacturer and they pointed me to a youtube video of a guy grinding epoxy off a concrete floor without the blade getting dull, so I gave the Turboplane a try. It worked very well. I discovered the undersides of the boards and the corners were particularly difficult to shape without getting a lot of chipping and tear-out, so I'm doing a certain amount of shaping with a rasp by hand. Here are some shots of what I did initially:
I was feeling pretty good about how things were going until I went up to the roof in May and discovered that the screws had snapped on some of the smaller pieces. We had had some rain, so the best I can figure is that the wood expanded and sheered off the screws. BUMMER!
I mail-ordered some stainless steel lag screws and spent a couple of days in June taking everything apart and replacing all the initial screws with the lag screws. All of the broken ones had to be extracted from the wood. I tried drilling them out, but it didn't work (the screws were too hard to be drilled through), so I stumbled upon this method. First, chip out some wood around the screw.
Then, grab the end with vice grips and back it out of the hole.
After doing that for all the broken screws, and re-drilling all the holes in the steel and the pilot holes in the wood, I realized I should take the opportunity to do the initial power-shaping on all the pieces before I screwed them back down (to prevent the tear-out on the corners I had experienced back in April). So, I held the pieces to the top of the railing with clamps and shaped the edges before lag screwing them onto the railing. Here's the finished product.
After seeing this picture, I decided that's the best place I've found for the home-made digital antenna, so I've since gone up and secured it in place and run the coaxial cable in such a way that it is hardly visible. After this one dies of rust, I think I'll make one that looks more integral to the fence - like a bug, but hopefully not in a cheezy way.
I've still got the hand-shaping and sanding to do on this railing, and of course, I still have to do the whole front railing, but I'm pretty pleased with how it's turning out so far. What do you think?
P.S. Happy Birthday to Axel, who turned 1 year old last Sunday. Cindy and I went to his party to celebrate. Here he is with his mom and a fiendish face full of ice cream cake and zeppole (or "fried dough" for you non-Italians):
That looks like a lot of hard work. It's already looking great and will be beautiful when you're finished.
ReplyDeleteThanks, Michelle! Can't wait to see you and your garden again in person!
DeleteThe railing looks great! These things require a lot of work and patience, especially when it comes to getting the right measurements. I like the way you guys constructed this, it’s really simple but looks very durable. I bet the finished product looks great! Anyway, thanks for sharing this lovely post with us, Lory. All the best!
ReplyDeletePleasance Faast @ Shelton Roofing
Informative and interesting which we share with you so i think so it is very useful and knowledgeable. I would like to thank you for the efforts.
ReplyDeletewww.mitersawexpert.net